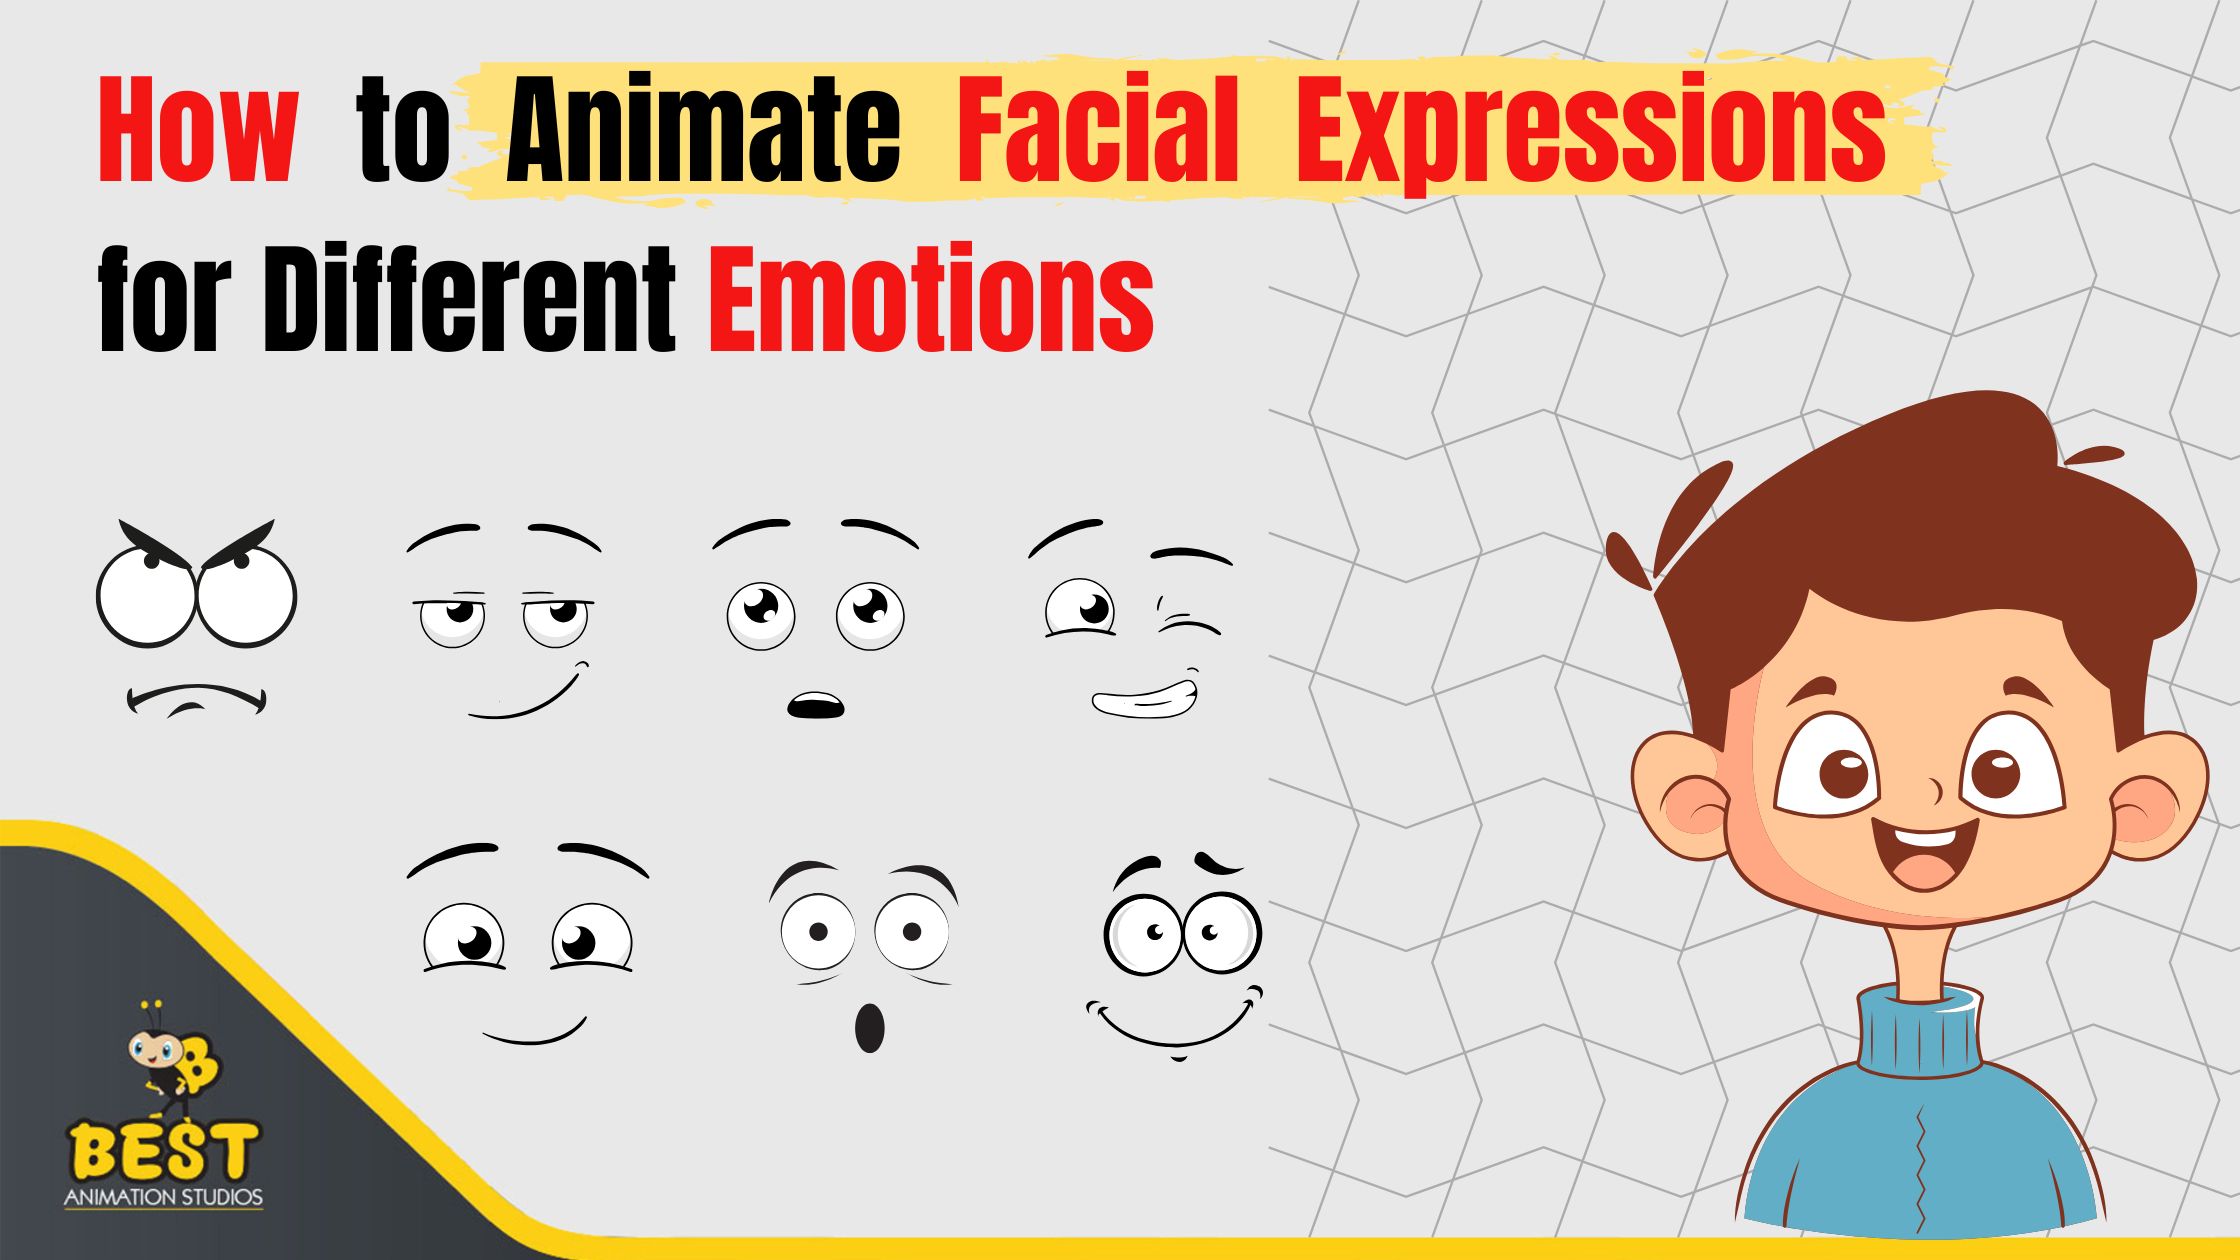
How to Animate Facial Expressions for Different Emotions
Facial expressions are the most critical elements of animation storytelling in terms of visuals, as they can portray complicated emotions and thoughts that cannot be represented by words. Whether it is about cartoons, video games, or any cinematic projects, one has to know how to create facial expressions. This is a detailed road map on how to master the art of facial expression animation for all emotions.
The Basics: Understanding Emotions and Anatomy
Facial expressions are based upon the interaction of facial muscles and each emotion elicits a specific movement. Understanding this anatomy is essential for creating animations. Here's how basic emotions look:Happiness: Cheeks are lifted, lips are curled upward, and crow's feet appear near the eyes. The eyes are slightly narrowed, and the forehead remains relaxed.
Sadness: Eyelids droop, mouth corners are downturned, and the inner eyebrows are raised. The cheeks are slightly drooping, and the eyes are wet or dull.
Anger: Depicted through furrowed brows, flared nostrils, and tightly pressed lips or exposed teeth. In addition, one may display clenching of the jaw, but the eyes could narrow or glare.
Surprise: Seen through a raised eyebrow, fully open eyes, and slightly parted lips. The forehead may develop wrinkles, and the whole facial expression appears vigilant.
Fear: Shown via opened eyes, raised eyebrows, and a taut mouth. Nostrils may flare, and the face could present slight retraction.
Disgust: This can be expressed through a wrinkled nose, raised upper lip, and narrowed eyes. The expression may also include a head tilt or averted gaze.
For a deeper understanding, check out the Facial Action Coding System (FACS), a comprehensive guide to facial muscle movements.
Step-by-Step Guide to Animating Facial Expressions
Step 1: Begin with a Neutral BaseAll animations start with a neutral facial expression. This neutral state acts like a blank canvas, letting you build up the expressions layer by layer. It also helps to establish a consistent baseline for subtle or exaggerated changes.
Step 2: Block Out Key Poses
Key poses are the backbone of any animation. For facial expressions, these poses represent the most extreme or defining moments of an emotion. Examples include:
● A beaming smile with raised cheeks and squinted eyes for happiness.
● Furrowed brows and tightly pressed lips for anger.
● Wide-open eyes and an open mouth for surprise.
Step 3: Target the Important Facial Areas
There are specific areas of the face controlling facial expressions. Focus on these main areas:
a. Eyebrows and Forehead: Very expressive, they depict the emotions of a person through various movements—from surprise (raised brows) to anger (furrowed brows).
b. Eyes and Eyelids: The eyes are the windows to the soul. Squinting, widening, or drooping the eyelids can dramatically change the emotion.
c. Mouth and Lips: The lips form smiles, frowns, and everything in between. A slightly open mouth may denote surprise or awe, while tightly pressed lips might show anger or determination.
d. Cheeks and Nose: These regions serve the major expression. For instance, the cheeks may be puffed with laughter or the nose wrinkled to indicate disgust.
Step 4: Subtle Micro-Expressions
Micro-expressions are tiny, subtle movements which add depth and reality to an animation. These include:
● A little twitch of the eyebrow when in hesitation or doubt.
● A slight quiver of the lip when sorrowful or fearful.
● Quick blinks of the eyes when nervous or excited.
These small details make characters believable and more relatable.
Step 5: Apply Timing and Easing
Timing is everything in animation. The speed of movement directly influences the perception of an emotion:
● For certain emotions, such as sadness or thoughtfulness, slow transitions may work better because the character may need some time to process their feelings.
● Quick, sharp movements suit surprise or anger, conveying immediacy and intensity.
Easing principles, like easing out at the peak of a smile, can make expressions feel more natural.
Step 6: Secondary Movements
Face expressions are not usually performed alone. Use secondary movements to enhance the primary emotion. For example:
● A tilt of the head can support curiosity or puzzlement.
● A slight nod can add confirmation or comprehension.
● A head jerk backwards can increase surprise.
These extra movements enrich and contextualize the animation.
Step 7: Use Real-Life Examples
Observation is one of the strongest tools available to an animator. Observe real-life interactions, practice in front of a mirror, or even record yourself expressing different feelings. Watch movies, interviews, or candid videos to learn how people naturally use their facial expressions.
Tools and Techniques for Animation
1. Traditional 2D AnimationIn traditional 2D animation, animators often exaggerate expressions for comedic or dramatic effect. This involves frame-by-frame drawing that gives complete control over all aspects of the expression—perfect for creating unique, expressive characters.
2. 3D Animation
Advanced rigging systems are available in 3D animation software such as Blender, Maya, or 3ds Max. Use blended shapes to manipulate facial features and achieve realistic or stylized expressions. Fine-tune each movement to ensure natural transitions.
3. Motion Capture
For hyper-realistic facial expressions, motion capture technology is a boon. It records real-life facial movements, which can later be refined and incorporated into your animation.
4. 2D Rigging and Puppet Animation
Programs such as Adobe After Effects or Moho Pro allow animators to create rigs with adjustable parts. This method is efficient for projects that require consistent expressions across multiple characters or scenes.